Unlock Your New Mac's Full Potential: A Developer's Guide to Increased Efficiency
My most recommended light weight developer tools and configuration
Embarking on a Journey: Unveiling My Passions and Pursuits Greetings from Bangalore, India! My name is Madhusudhan Anand, and life has been a beautiful ride of experiences and challenges. Growing up, my family's nomadic nature led us to traverse various cities in Karnataka, immersing me in the rich tapestry of diverse cultures. These encounters have left an indelible mark on my journey, shaping my passions across four distinctive realms: product development, teaching, problem-solving, and writing. As the co-founder of Ambee, a vibrant climate tech startup, my forte is transforming promising ideas into tangible, revenue-generating products. I channel my creative energy, technical expertise, and entrepreneurial spirit with every project to make a meaningful impact. Teaching has become more than just a hobby—it has become a way for me to ignite a spark of knowledge and inspiration in others. Over the years, I've had the privilege of mentoring and training over 2000 programmers worldwide. Sharing my insights and empowering aspiring talents in the world of data science and programming has been a profitable endeavor. Problem-solving is the fuel that drives my passion. With an optimistic and multidimensional perspective, I approach every challenge as an opportunity for growth. From my roots in data science and remote sensing to exploring the realms of climate change, IoT, and AI, I've harnessed my problem-solving prowess to create innovative products at Ambee. Writing has always been my sanctuary—an avenue to channel my thoughts, emotions, and ideas. I am captivated by the power of the written word to inspire, educate, and connect. Through my blog, I promise to deliver authentic, informative, and infused content with my personal touch. I'll share insights from my journey, staying true to my values and unwavering commitment to honesty. As I embark on this blogging adventure, I dedicate this platform to my late father, a constant source of inspiration and strength. His memory will forever reside in my heart, guiding me to be true to myself and positively impact the world. Join me on this exhilarating journey of exploration, learning, and growth. Let's delve into the fascinating realms of technology, data science, and personal reflections. Welcome to my world!
Congratulations on your new Mac! As a developer, you've chosen a powerful platform with a streamlined user experience and a robust Unix-based architecture. But to truly harness the power of your Mac and boost your productivity, you'll need to set it up with the right tools, themes, and configurations tailored for developers. This comprehensive guide is here to help you unlock your Mac's full potential and optimize it for a seamless development experience.
In this blog post, we will walk you through essential steps to transform your Mac into the ultimate development machine. We will cover everything from updating your macOS and installing Xcode to setting up your favorite text editor and programming languages. Additionally, we'll explore some popular themes and extensions to customize your development environment and improve your overall efficiency.
Stay tuned as I share my most loved, most admired, more motivating way into the world of Mac customization and optimization, turning your new Mac into a developer's dream come true.
Step 1. First things first, update your macOS:
Make sure you're running the latest version of macOS. To check for updates, go to the Apple menu > System Preferences > Software Update.
Step 2. Install Xcode:
Xcode is the official IDE for macOS and iOS development. Download it from the Mac App Store or visit https://developer.apple.com/xcode/. After installation, open Xcode and accept the license agreement. It will prompt you to install additional components, which include command line tools and essential SDKs.
Step 3. Install Homebrew: (M1 or M2 chip steps included)
Homebrew is a package manager for macOS that simplifies installing software. Open Terminal and enter the following command
/bin/bash -c "$(curl -fsSL https://raw.githubusercontent.com/Homebrew/install/HEAD/install.sh)"
1. For new Mac with M1 or M2 running Ventura OS 13.x.x and above follow this
Open terminal and run: /bin/bash -c "$(curl -fsSL https://raw.githubusercontent.com/Homebrew/install/HEAD/install.sh)"
Authenticate when prompted to.

2. Be patient, after a minute or so, Homebrew will be installed on your Mac.

3. However, if you run brew you’ll get…

4. That’s because you have to add Homebrew to your path. To do that, you’ll have to edit your .zshrc file and add the following at the bottom.
export PATH=/opt/homebrew/bin:$PATH
export PATH=/opt/homebrew/sbin:$PATH
NOTE: you can edit from the terminal by running vim .zshrc or with a file editor. However the file is hidden. Learn how to toggle visibility of hidden files in macOS.

5. Install cask with brew install cask. Packages available in homebrew are not usually for the average home user. You will need/want cask to take full advantage of homebrew.
6. That’s it. You’re done! Move to next step
Step 4. After installation, run brew update to make sure you have the latest package information.
Install essential command line tools: Use Homebrew to install essential tools such as git, wget, and more. Run the following command:
Copy codebrew install git wget curl zsh htop tmux
Step 5. Set up Zsh and Oh My Zsh:
Zsh is a more powerful shell than the default bash. Oh My Zsh is a framework for managing Zsh configurations, which includes themes and plugins.
Set Zsh as the default shell:
bashCopy codechsh -s $(which zsh)Install Oh My Zsh:
bashCopy codesh -c "$(curl -fsSL https://raw.github.com/ohmyzsh/ohmyzsh/master/tools/install.sh)"Edit your
~/.zshrcfile to customize themes and plugins.To set up Oh My Zsh themes, follow these steps:
- Install Oh My Zsh: If you haven't already, install Oh My Zsh by running the following command in your terminal:
bashCopy codesh -c "$(curl -fsSL https://raw.github.com/ohmyzsh/ohmyzsh/master/tools/install.sh)"
- Browse available themes: Oh My Zsh comes with numerous pre-installed themes. Browse the available themes in the
themesdirectory:
bashCopy codels ~/.oh-my-zsh/themes/
Alternatively, you can find theme previews on the Oh My Zsh Wiki: https://github.com/ohmyzsh/ohmyzsh/wiki/Themes
- Edit the .zshrc file: To change the theme, open your
~/.zshrcconfiguration file using a text editor:
arduinoCopy codeopen ~/.zshrc
- Change the ZSH_THEME variable: Locate the line starting with
ZSH_THEMEand change the theme name to your desired theme. For example, to set the "agnoster" theme, modify the line as follows:
makefileCopy codeZSH_THEME="agnoster"
- Save and restart your terminal: Save the changes to your
.zshrcfile and restart your terminal for the new theme to take effect.
Recommended themes for developers:
Agnoster: Agnoster is a popular theme that provides a clean and informative prompt, displaying Git branch and status, current folder, and more. It requires a Powerline-patched font to display special characters. Some recommended Powerline-patched fonts include Fira Code, Meslo, and Source Code Pro.
Powerlevel10k: Powerlevel10k is a highly customizable theme that is both fast and visually appealing. It offers a rich set of features, including Git status, command execution time, and more. To install Powerlevel10k, follow these steps:
bashCopy codegit clone --depth=1 https://github.com/romkatv/powerlevel10k.git ${ZSH_CUSTOM:-$HOME/.oh-my-zsh/custom}/themes/powerlevel10k
Then, edit your ~/.zshrc file and set ZSH_THEME="powerlevel10k/powerlevel10k".
- Spaceship: Spaceship is a minimalistic and informative theme, displaying Git information, package version, and more. To install Spaceship, follow these steps:
    bashCopy codegit clone https://github.com/denysdovhan/spaceship-prompt.git "$ZSH_CUSTOM/themes/spaceship-prompt"
    ln -s "$ZSH_CUSTOM/themes/spaceship-prompt/spaceship.zsh-theme" "$ZSH_CUSTOM/themes/spaceship.zsh-theme"
Then, edit your ~/.zshrc file and set ZSH_THEME="spaceship".
Remember to choose a theme that suits your preferences and needs. Experiment with different themes to find the one that works best for you.
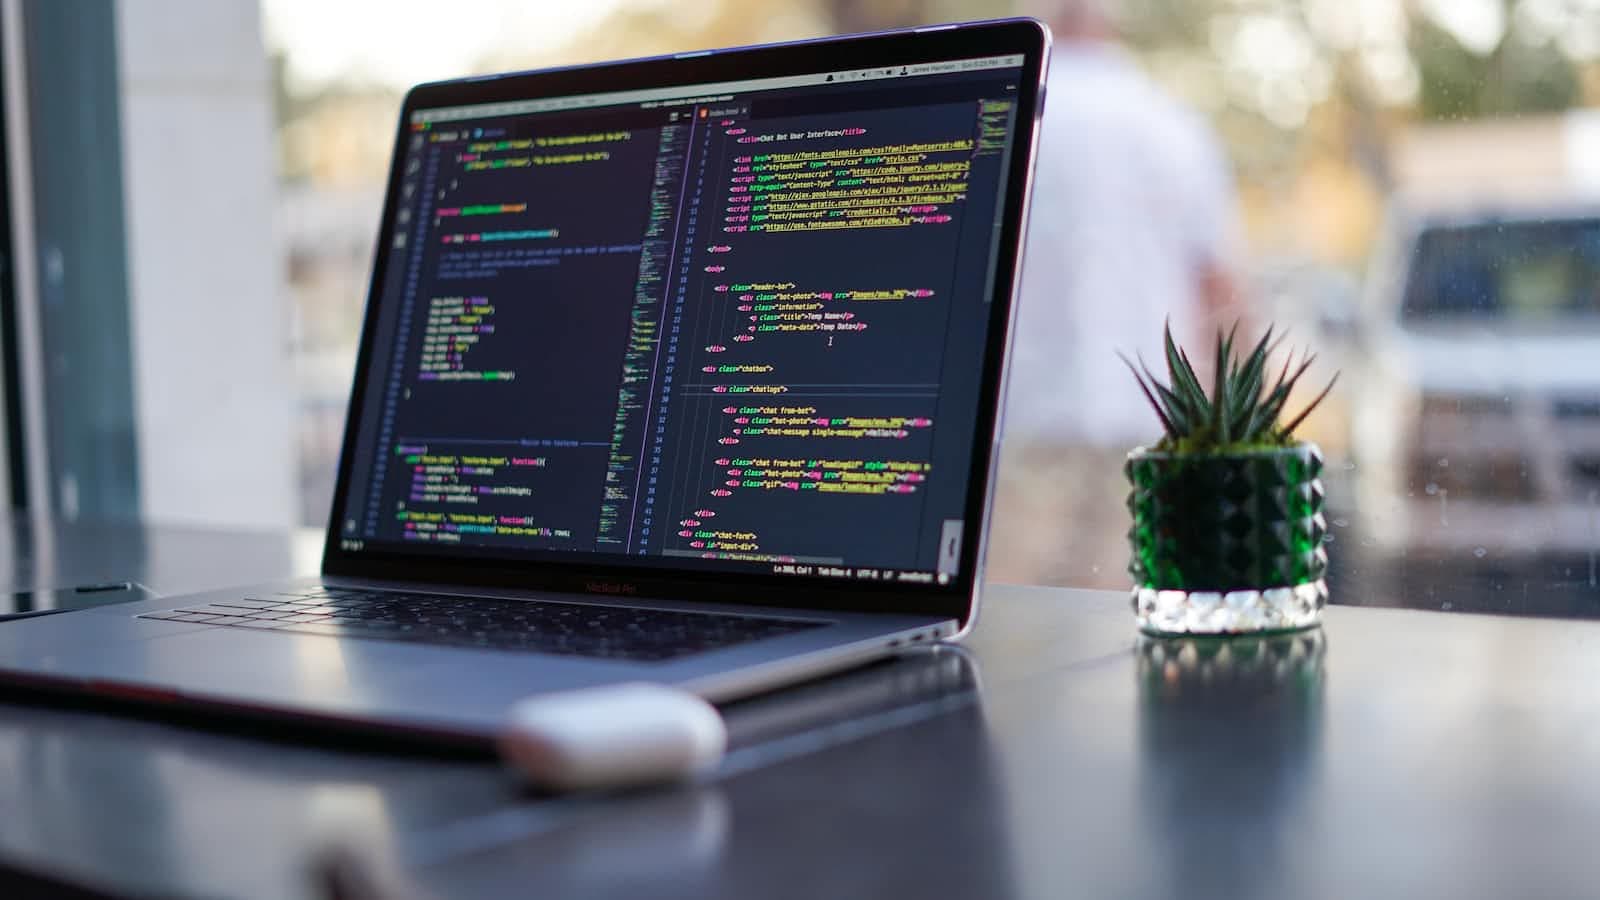
Step 6. Install a text editor or IDE:
Some popular choices are Visual Studio Code, Sublime Text, or Atom. Download and install your preferred editor, then customize it with extensions and themes.
Here are some of my favorite extensions, plugins and themes based on what programming language I'm working on
JavaScript:
Extensions:
ESLint: Linting and code formatting for JavaScript and TypeScript.
Prettier: Code formatter with support for JavaScript, TypeScript, and more.
JavaScript (ES6) code snippets: Code snippets for JavaScript in ES6 syntax.
npm: npm support, including scripts and dependency management.
Debugger for Chrome: Debug your JavaScript code running in Google Chrome.
Themes:
One Dark Pro: A popular and elegant theme based on Atom's One Dark theme.
Dracula Official: A dark theme with a vibrant color palette.
Material Theme: A customizable theme based on Google's Material Design.
Python:
Extensions:
Python: Official extension by Microsoft with rich support for Python development.
Jupyter: Support for Jupyter notebooks, including code execution and markdown.
Pylance: Fast and feature-rich language support for Python.
Pyright: Static type checking for Python.
Themes:
Monokai Pro: A professional and colorful theme based on the Monokai color scheme.
Night Owl: A dark theme optimized for developers who work at night.
Solarized: A popular theme available in both dark and light variants.
Ruby on Rails:
Extensions:
Ruby: Provides Ruby language and debugging support.
Ruby Solargraph: Offers code completion, inline documentation, and more.
Rails: Ruby on Rails support, including code navigation and snippets.
ERB Formatter: Formatting support for Embedded Ruby (ERB) files.
Themes:
Community Material Theme: A set of Material Design-inspired themes with various color options.
Cobalt2 Theme Official: A theme with a dark blue color scheme and italicized syntax.
Palenight Theme: A soft and elegant theme with a purple tint.
Golang:
Extensions:
Go: Official extension by Google, offering rich language support for Go.
Go Test Explorer: Run and visualize Go tests directly in VSCode.
Themes:
Gruvbox: A retro-groove color scheme available in dark, light, and medium variants.
Ayu: A simple theme with three variations: dark, light, and mirage.
C#:
Extensions:
C#: Official extension by Microsoft, providing C# language support, debugging, and more.
NuGet Package Manager: Manage NuGet packages directly within VSCode.
.NET Core Test Explorer: Discover, run, and debug .NET Core tests.
Themes:
Nord: A dark theme with a cool, arctic color palette.
SynthWave '84: A retro, neon-inspired theme.
Atom One Dark: A theme based on Atom's One Dark color scheme.
Java:
Extensions:
Java Extension Pack: A collection of extensions for Java development by Microsoft, including Language Support for Java(TM) by Red Hat, Debugger for Java, and Test Runner for Java.
Maven for Java: Manage Maven projects and execute Maven commands.
Spring Boot Extension Pack: A collection of extensions for Spring Boot development.
Themes:
Horizon: A warm and colorful theme available in dark and light variants.
Noctis: A collection of dark themes with various color schemes.
Tokyo Night: A dark theme with a combination of purple, blue, and pink tones.
Feel free to explore other extensions and themes in the VSCode marketplace to find the perfect combination that suits your preferences
Step 7. Set up a version control system:
- Initialize a Git repository in your projects folder and configure your name and email address.
arduinoCopy codegit config --global user.name "Your Name"
git config --global user.email "your.email@example.com"
Step 8. Install programming languages and frameworks:
Install languages and frameworks you plan to use, such as Python, Node.js, Ruby, or Java. Use Homebrew or the official websites for installation.
Step 9. Configure macOS settings:
Enable key repeating by running:
arduinoCopy codedefaults write NSGlobalDomain ApplePressAndHoldEnabled -bool falseThis allows you to hold down a key and have it repeat quickly, which is useful for navigating code.
Step 10. Set up hot corners for quick access to common tasks (e.g., Mission Control, Application Windows, or Desktop)
Do this by going to System Preferences > Mission Control > Hot Corners.
Adjust your Dock preferences to minimize distractions and improve productivity.
Step 11. Organize your workspace:
Create a dedicated workspace for your projects and set up a file organization system. Use Finder tags and smart folders to keep things organized. Create a folder in MyDocuments called Workspace and create folders that you recognize.
Now download those git repos and get cracking! You've just made your Macbook, AWESOME!